
C++ Development Environment (Legacy)
There is a more modern version of the C++ development environment. See this article.
This article provides more direct instructions to compile C++ code. More elaborate information can be read at this Visual Studio Code page which is a highly recommended read for knowledge sake.
Setup Docker
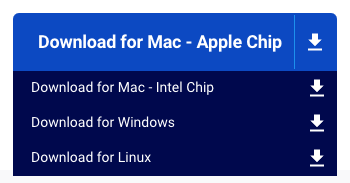
The first thing is to download Docker; please visit https://www.docker.com/products/docker-desktop/ to download Docker for your machine.
Install and Start Docker
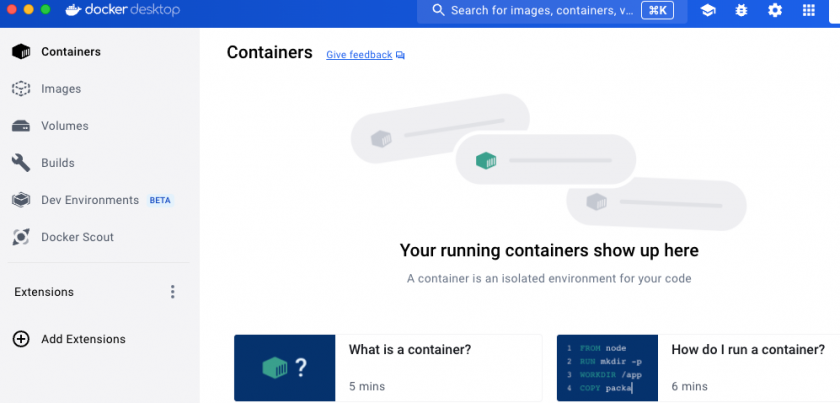
After you start the Docker Desktop, you should land on a screen like the following. Feel free to poke around and learn Dockers.
Setup Visual Studio Code
We will use Visual Studio Code as an IDE. There has been tremendous amount of support and plugins to serve as a really good code editor. And more importantly for us, it provides docker container for C++ development out-of-the-box.
Install Visual Studio Code
Please go to https://code.visualstudio.com/ to install Visual Studio Code for your machine. After installation, go ahead and fire up the program.
Install Dev Containers
After installing and starting up Visual Studio Code, it is time to install a "devcontainers" extension to be able to fire up your C++ development environment.
Much of the documentation is captured here a the devcontainers reference page. But, we will provide brief details to get you going.
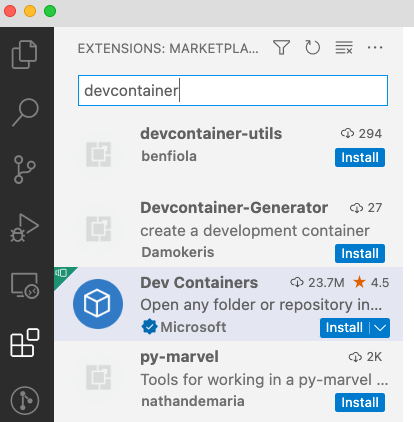
Go to "Extensions", search for "dev containers" and install it. You can also read this page for more elaborate information.
Setup Dev Container
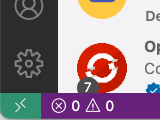
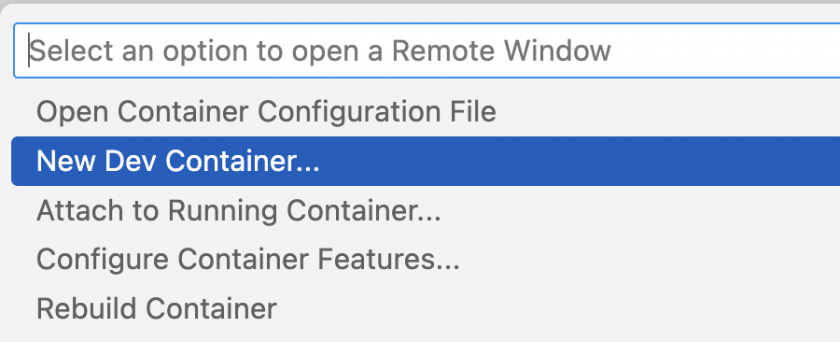
After the Dev Container extension is installed, it is now time to start the C++ container. Click on the green arrows on the bottom left side of Visual Studio Code.
This will bring up a menu, select New Dev Container.
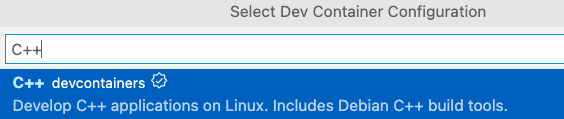
Type "C++", and select the C++ container:
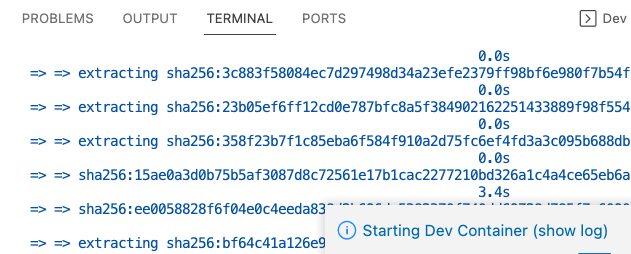
Grab a cup of coffee because building and starting this "Dev Container" will take a while. Click on "show log" to view details.
Checkpoint
Let's ensure that everything is running as expected. If you go back to Docker Desktop, you should see a container running.
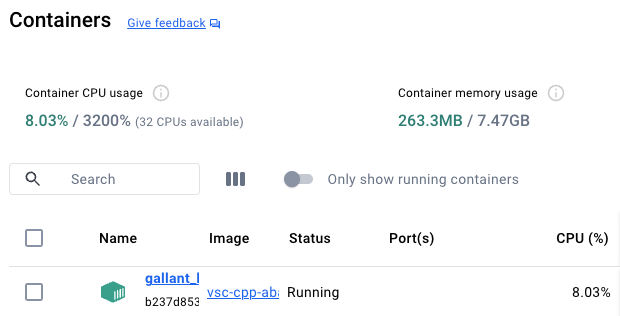
Visual Studio code attaches to this container and you should be able to add code and compile it at this point.
Hello World
From the left-side of Visual Studio Code, create a new folder `hello_world` (click on +folder icon).

Add Source Files
Add these two files (thanks to ChatGPT):
CMakeLists.txt
# CMakeLists.txt

cmake_minimum_required(VERSION 3.0)
project(HelloWorld)

# Define the source files
set(SOURCES
    hello_world.cpp
    #another_file.hh
)

# Add executable target
add_executable(${PROJECT_NAME} ${SOURCES})
hello_world.cpp
#include <iostream>

int main() {
    std::cout << "Hello, World!" << std::endl;
    return 0;
}
Build and Run
Create a build directory, and right click it and choose Open in Integrated Terminal.
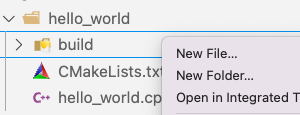
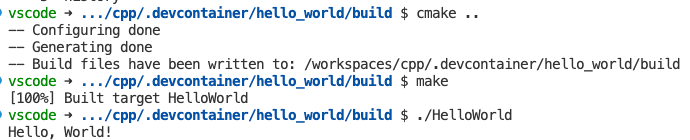
Type the following commands to validate that you can build and run the C++ code.
cmake ..
make
./HelloWorld
Rerun
If you have closed Docker and Visual Studio code, here is the process to resume:
- Go to Docker Desktop and restart your CPP Container
- Open Visual Studio Code and attach to the running container

How It Works
You were able to build code, and that's great, but it's important to also understand the details of how it worked. The docker container doesn't retain state, and what happens is that your source code lives on your machine, but it is mapped as a drive to the docker container. This way, whenever the docker container restarts, it will not lose your source code.
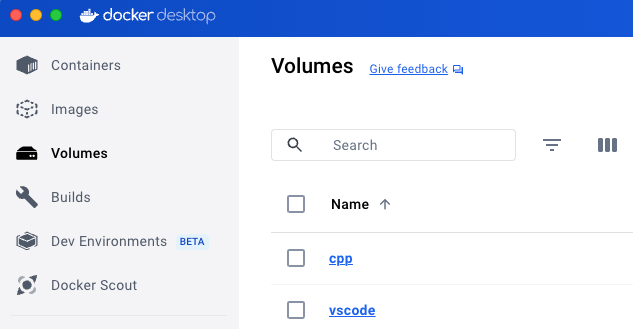
Docker provides the infrastructure to achieve this and you can go to the Docker Desktop "Volume" section to view the data. An even better article can be referenced here to figure out how it works.
Visual Studio code provides the ability to map to this file.
Happy coding!